

I’ve been receiving a lot of emails asking questions on my kitchen makeover from the Better Homes and Gardens Feature so I thought it would be easier if I show the progress of the makeover and share some answers to the most popular email questions.
When my realtor brought me to this house I cringed at the bathrooms and the kitchen. They were “so gross” but I could see the potential in all three rooms.
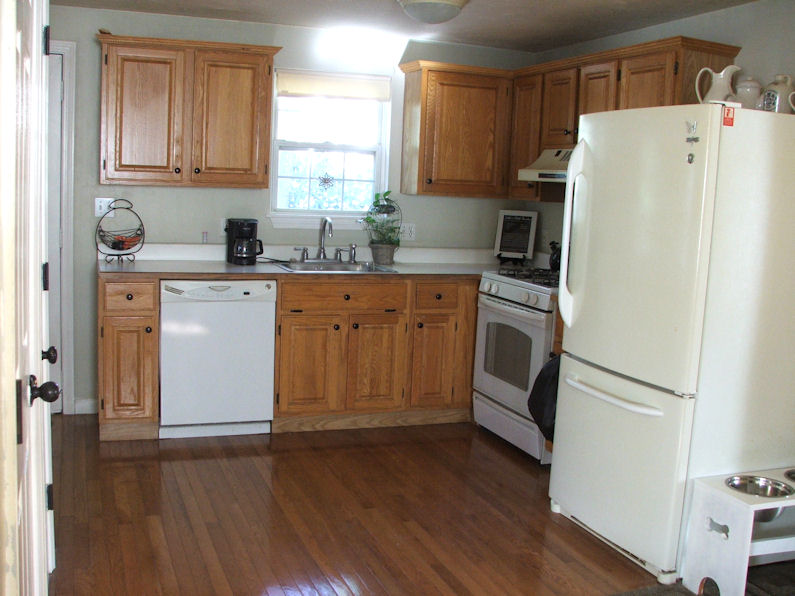
Here is how the kitchen looked when I put an offer on the house.

The lack of character, the lights and the ugly oak cabinets had me avoiding going into the kitchen as much as possible. A cheap quick fix was to add crown molding to the cabinets, change out the lights with inexpensive ones and update the walls. I used permacil tape to create stripes on the walls (not something I recommend, I ended up having to skim coat the walls when I took the tape down a few years later). A more expensive project was installing the hardwood flooring (costs of that was $1,200) to match the rest of the first floor I also bought a new stove and dishwasher (roughly $700 for both), the refrigerator was from my previous home and the range hood was original to the house.

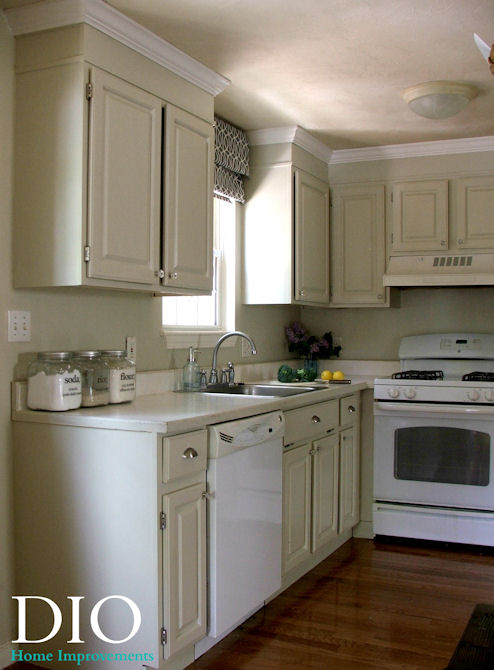
I lived with the kitchen like this for a few years but I never liked the oak cabinets. So I decided to paint the cabinets and give the kitchen more of a custom look. The first thing I did was remove the tape on the walls and paint the walls with Sherwin Williams Wool Skein that I had left over from painting the bedrooms. Here is how the kitchen looked after painting the walls. This is one of my absolute favorite paints, the color looks gray in some lighting and beige in other lighting, it’s the perfect greige for me!
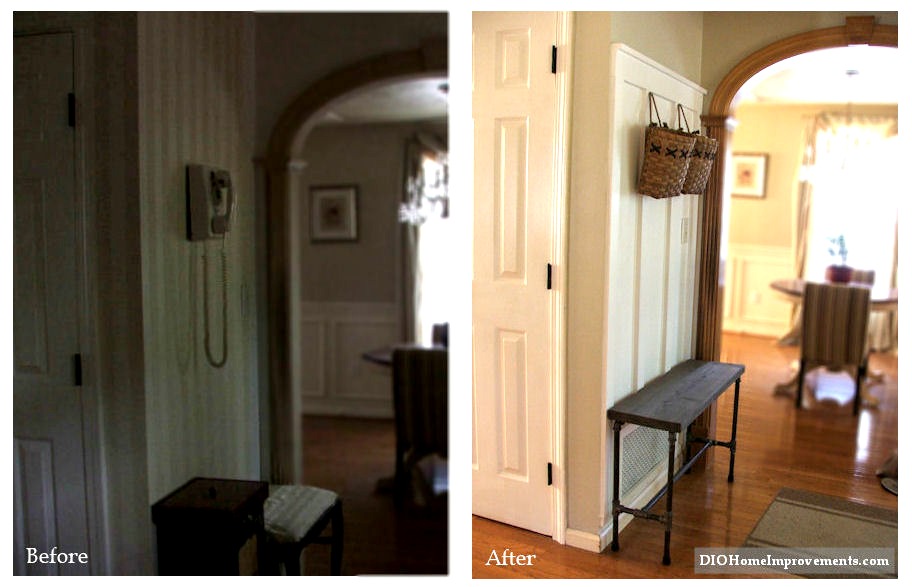
The next project I did after deciding to really make the kitchen look like I had imagined it was to give character to the small wall next to the dining room. This wall is opposite the door to my deck. I installed craftsman style wainscot and a diy air return vent (as well as made a plumbers pipe bench).
Here are a few before and after shots

Next up was to make the cabinets look custom. The quick version is below, or you can read the detailed post of my kitchen cabinet makeover.

After building the cabinets up to the ceiling and building the refrigerator surround I painted my refrigerator and range hood as well as made a faux roman blind and a matching roller shade for the window. Here is the final result.

Questions Answered:
What Paint did I use: Sherwin Williams Harmony on the walls in Wool Skein (I had this paint left over from painting the bedrooms). The Cabinets – Sherwin Williams Pro Classic in Wool Skein (this is a self leveling paint to hide brush strokes and the grain of the wood).
Where did I get the rug in the Better Homes and Gardens Feature: BHG brought the rug in, unfortunately I do not know where they got it.
Where did I get the shirt in the BH&G feature: It is by Lucky Brand.
How did I keep the cost so low: The BH&G feature was about the cabinet makeover, the floors and appliances were not a part of the cost of that makeover since the before photos they showed already had the hardwood floors and appliances. I used what I had on hand and made what I had on hand work before I went to Home Depot and Lowes for the things I didn’t have.
What I had on had:
The union jack sheet metal for the door above the refrigerator (left over from the DIY Air Return Vent project).
The 1 x 6 pieces of wood that I used on top of the cabinets as well as the scrap pieces of wood I used as braces behind the 1 x 6’s.
Wall paint left over from painting the bedrooms.
Bin Primer left over from painting the bathroom vanities
L brackets, thin wood molding, scrap wood and hinges for the refrigerator door.
Fabric for the faux roman shade and the roller shade left over from a pillow project.
What I purchased:
The cabinet hardware
Drawer pulls were $4.78 each x 5 = $19.12.
Cabinet Knobs were $3.98 each x 12 = $47.76.
The cabinet hinges – 24 hinges x 1.29 = $30.96.
I got all the hardware at Home Depot for a total of $97.84.
Molding:
Crown Molding purchased at Lowes – (12′ length) 3 x $19.44 = $58.32
Paint:
One gallon Sherwin Williams Pro Classic – I purchased this when they were having a sale 30% off. $45.50
Rustoleum Appliance Paint – One Quart $14.97
Other:
Cabinet & Drawer template (to drill the holes for the hardware) $7.47
Total spent on cabinet makeover: $224.10
Check back over the summer I have two projects lined up that will co-inside with my kitchen makeover! Feel free to email with any questions I didn’t answer here!
18 comments for “The evolution of my kitchen makeover”