

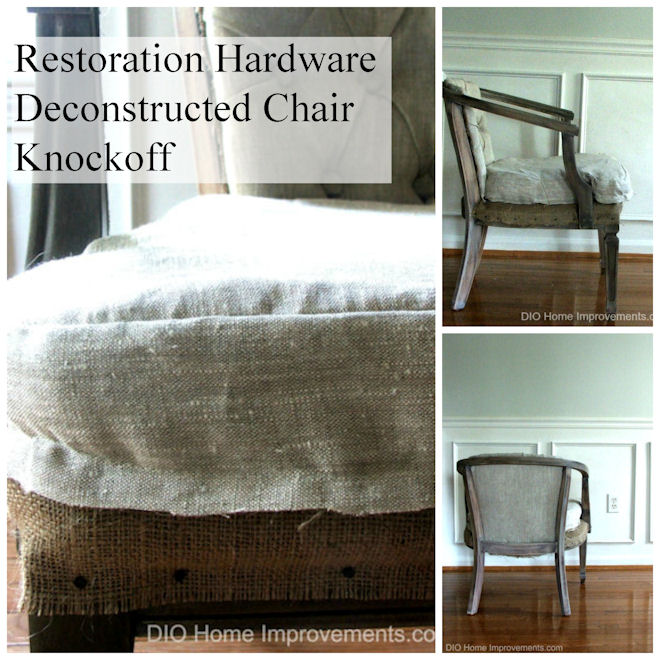
I love Restoration Hardware’s Deconstructed furniture, I have wanted to do a knockoff for a while. One of my sisters found a cane chair at a thrift store a while back for $5.00 she knew I was looking for one so she picked it up for me. I lived with it as it was for a while but the fabric was aged looking, I made the mistake of painting the fabric to make it look cleaner. That was a fail! It made the fabric really hard and uncomfortable and it made taking the fabric off the chair very hard when I decided to reupholster it. My advice if you ever plan to reupholster furniture don’t paint the fabric!
I started out by sanding the chair. I did this by hand, if I had used a power sander it would have gone a lot faster. After sanding my neighbor and I pulled the fabric off the chair, carefully remembering how each piece went back together. I also removed the cane from the chair.
Before Sanding

After Sanding

The color was a little too red for me after sanding so I mixed some paint together and watered it down to make a paint stain. I used white paint and some brown paint to get the desired brownish gray color I was going for.
After staining

I also applied a paste wax after the stain dried to protect the finish. Once the frame was done I moved onto the upholstered pieces.
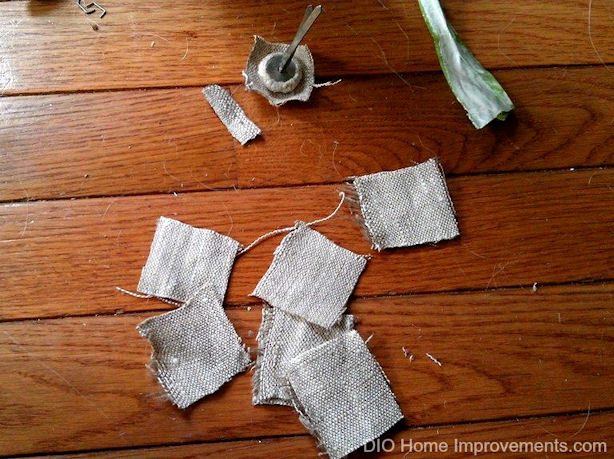
The back buttons were pretty easy to get out. After I had the back taken apart I laid my new linen fabric over the foam backing to make small cuts for the buttons.


I used a staple gun to reattach the fabric to the back, pinching the fabric where needed to make pleats.
I covered the buttons over the existing buttons using fabric adhesive spray.
Using the original outer back as a template I cut the new fabric, attached the padding and stapled this to the frame.

Again using the original as a guide I cut new fabric and sewed the seat cushion.

The last fabric piece was the burlap bottom. I used black upholster tacks to attach this to the base.

My dog “helping” more like laying on the linen fabric remains!

Final Result!
If you loved this tutorial, check back or better yet sign up below to receive email updates on new posts, you WILL NOT want to miss whats coming up. Over the next week or two I will be revealing the living room makeover as well as a DIY table that’s just as unusual as the plumbers pipe bench I made. Another post that is coming up is a DIY tutorial and giveaway – my partner on that post is Captain Dave Marciano from National Geographic’s tv show Wicked Tuna! And another giveaway from an awesome farmhouse inspired decor company! Be sure to sign up for email alerts so you won’t miss these upcoming posts!
16 comments for “Restoration Hardware Deconstructed Chair Knockoff”