
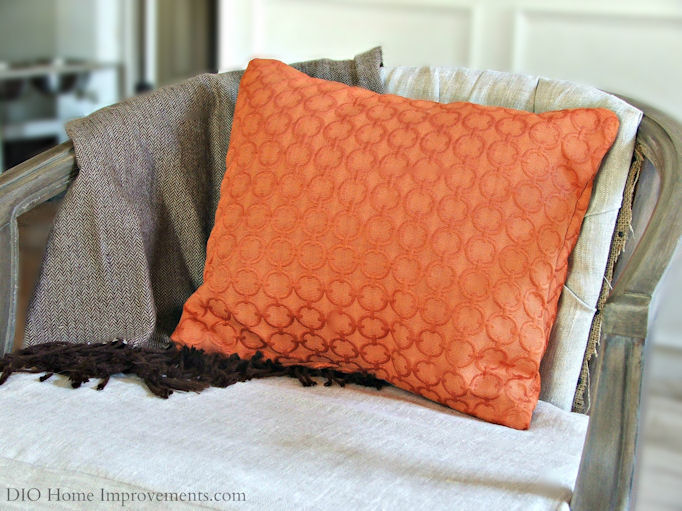
Today I have an easy diy pillow tutorial for you all! When choosing the fabric for this pillow I knew I wanted something with a monochrome textured pattern and I wanted something that would work with my fall decor. I’ve been eying this Waverly Full Circle Tiger Lily Fabric in a few different colors for a while! My first instinct was to chose white because it would work for all seasons in my living room but in the end I chose this pretty orange shade. I think this fabric in white would make amazing roller shades! This post is sponsored by The Online Fabric Store, I may have received product however all views are my own.
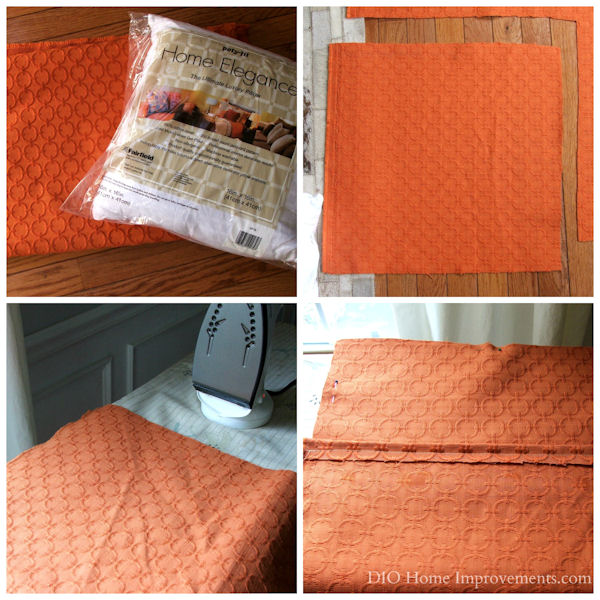
Step One: Cut the fabric about 1″ bigger than the pillow insert. I cut the front piece at about 17″ since my pillow insert is 16″. The back piece I made two sections, 17″ across about 10″ down.
Step Two: Iron the fabric
Step Three: For the two pieces used on the back I folded a lip down and stitched you can see this in the bottom right photo above. Then I pinned the two back pieces (face down) to the front making sure they overlap each other and stitched around all four sides.
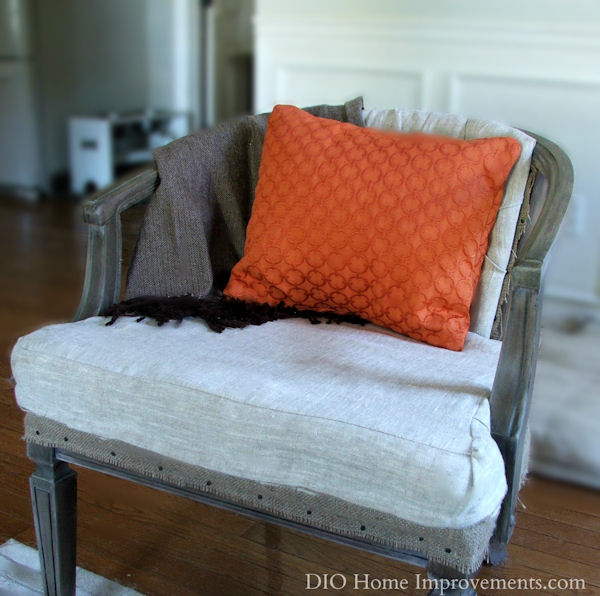
Step Four: Turn the cover inside out and insert the pillow, it’s that simple!
I love making pillows covers because they are so easy. This project took me about 30 minutes from the start to end.
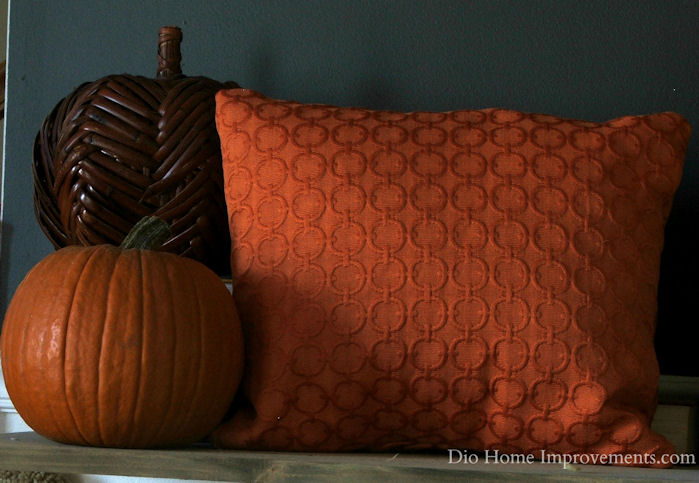
Super easy right? I think I need to buy a lot more of this fabric in different colors!
Here are the products I used from The Online Fabric Store.
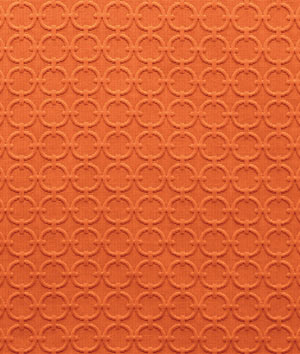
Waverly Full Circle Tiger Lily Fabric

Fairfield Home Elegance Pillow Form – 16″ x 16″
Did you know The Online Fabric Store also carries ready made pillows? Check out their beautiful inventory here.
Ready for the giveaway? Just use the rafflecopter below, best of luck to you all!
Don’t forget to follow along with my fellow bloggers to see the pillows they made!

Fun With Fabric Pillow Tour
Monday
Tuesday
Wednesday
Thursday
21 comments for “Fun with Fabric a DIY Pillow & Giveaway!”