
This year is all about making ornaments for one of my trees. So far I have made Polish Star Ornaments, Paper Star Ornaments, Pipe-cleaner ornaments and these paper ornaments. Do you want to learn how to make an ornament from molding? You’re in the right place 🙂

I was down my basement a few days ago painting a piece of wood when I was looking in my scrap wood pile. I picked up a piece of molding and thought the shape of the profile would be an awesome ornament! Do you have some favorite molding? Why not make an ornament from it?
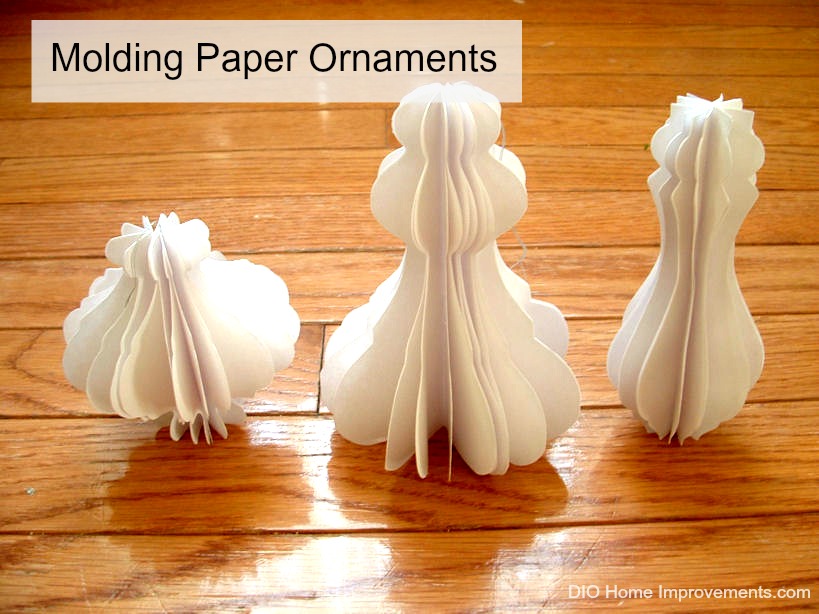
I made three different ornaments from the profiles of some molding that I bought a while back at Home Depot. Here is an example of how I made one of these ornaments. I also have templates at the end of this post if you want to make your own!
The image below is the shape of part of a piece of molding.

Using my graphic software I copied this image three times, flipping and mirroring the image to create the image below.

Then I added this image to silhouette duplicated the image to fit 6 copies on one page.
Step One: Print your images out. You need to use 12 pieces per ornament.

Step Two: Fold each piece in half lengthwise.

Step three: Glue your pieces together as shown below. Glue right next to the right side. Glue two sets of 6 pieces each.

Step four: At this point you will have two sets of 6 pieces each.
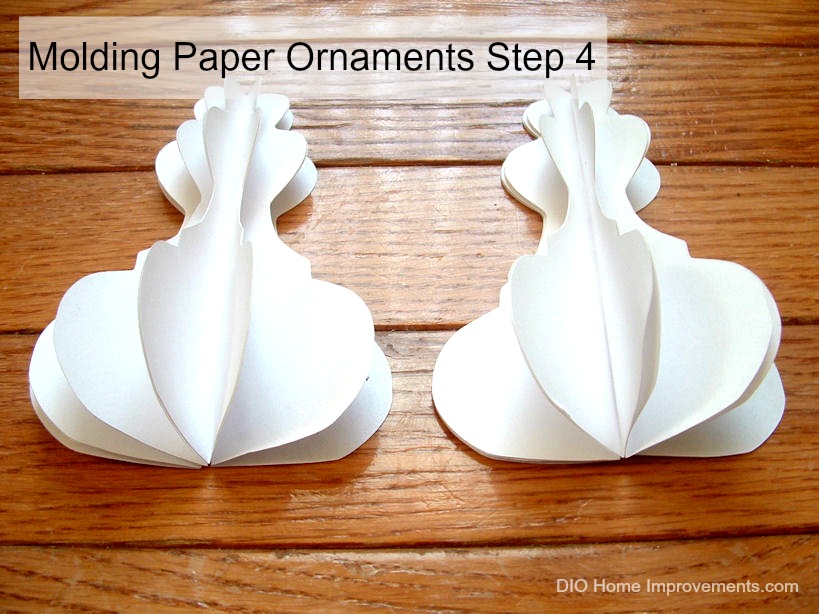
Step five: Use a piece of ribbon, string, threat, twine etc in the middle of these two sections.

You are done!!

You can use these templates to make your own.
Silhouette Files:
Other Christmas DIY projects you may be interested in:

Polish Star Ornaments


5 comments for “How to make an ornament from molding!”